Contents
Introduction
Docker has revolutionized how developers build, ship, and run applications by simplifying dependency management and environment consistency. At the core of Docker’s workflow is the Dockerfile, a script that defines how to assemble a container image. This article walks you through creating a custom Docker image from a local Dockerfile, deploying it as a container, and understanding real-world use cases. Whether you’re new to Docker or refining your skills, this guide offers practical steps to streamline your workflow.
Why Use a Dockerfile?
A Dockerfile automates the creation of Docker images, ensuring repeatability across environments. Instead of manually configuring containers, you define instructions (e.g., installing dependencies, copying files) in the Dockerfile. This approach eliminates “it works on my machine” issues and speeds up deployment.
Create a Docker Image for simple Node.js App
Step 1: Create a Dockerfile
Let’s build a Docker image for a simple Node.js server.
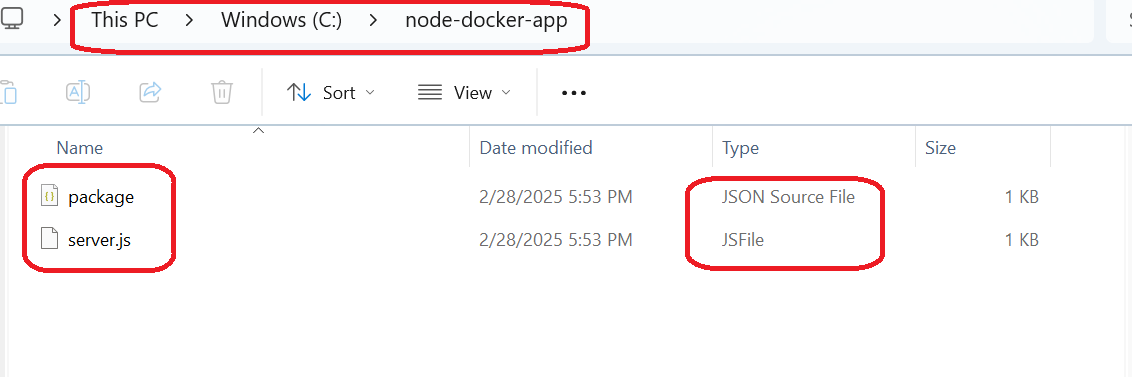
1. Project Setup
Create a directory for your project:
mkdir node-docker-app && cd node-docker-app

2. Add two files:
server.js (a basic Express server): This is the main application file where the Express server is set up. It defines the routes and how the server should respond to requests (e.g., GET / sends “Hello from Docker example from dotnet-helpers !”). It is essential for the application’s functionality.
const express = require('express');
const app = express();
app.get('/', (req, res) => res.send('Hello from Docker example from dotnet-helpers !'));
app.listen(3000, () => console.log('Server running on port 3000'));
package.json (dependencies file): This file is needed to manage the application’s dependencies (in this case, express). It ensures that Docker can install the correct version of the dependencies when the application is built, ensuring the server runs without issues.
{
  "name": "node-docker-app",
  "dependencies": {
    "express": "^4.18.2"
  }
}
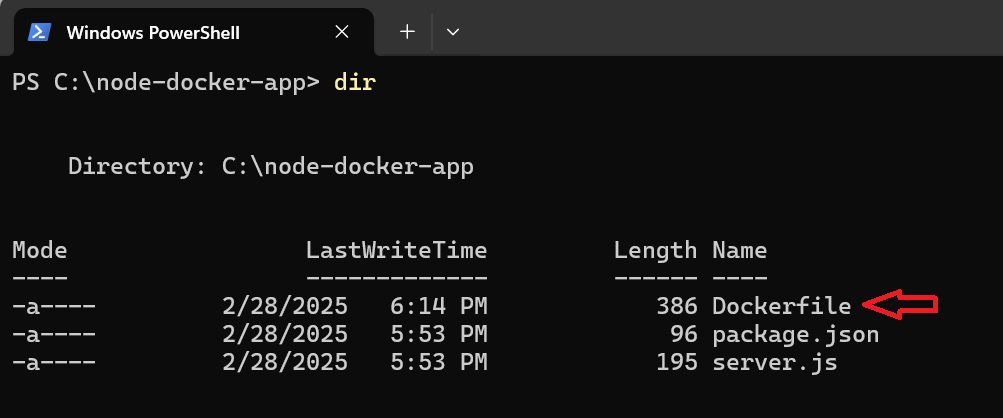
Create a file named Dockerfile (no extension) with these instructions:
# Use the official Node.js 18 image as a base
FROM node:18-alpine
# Set the working directory in the container
WORKDIR /app
# Copy package.json and install dependencies
COPY package.json .
RUN npm install
# Copy the rest of the application code
COPY . .
# Expose port 3000 for the app
EXPOSE 3000
# Command to start the server
CMD ["node", "server.js"]
FROMspecifies the base image.WORKDIRsets the container’s working directory.COPYtransfers local files to the container.RUNexecutes commands during image build.EXPOSEdocuments which port the app uses.CMDdefines the command to run the app.
Step 2: Build the Docker Image
Run this command in your project directory:
docker build -t node-app:latest .
-ttags the image (name:tag format).- The
.at the end tells Docker to use the current directory as the build context.
Docker executes each instruction sequentially as shown below and caching layers for faster rebuilds (for next build).

Step 3: Attach Image & Run the Container
The docker run command is used to create and start a new container from a specified Docker image. It is one of the most commonly used Docker commands to launch applications in an isolated environment. It’s one of the most fundamental Docker commands — essentially bringing a container to life!
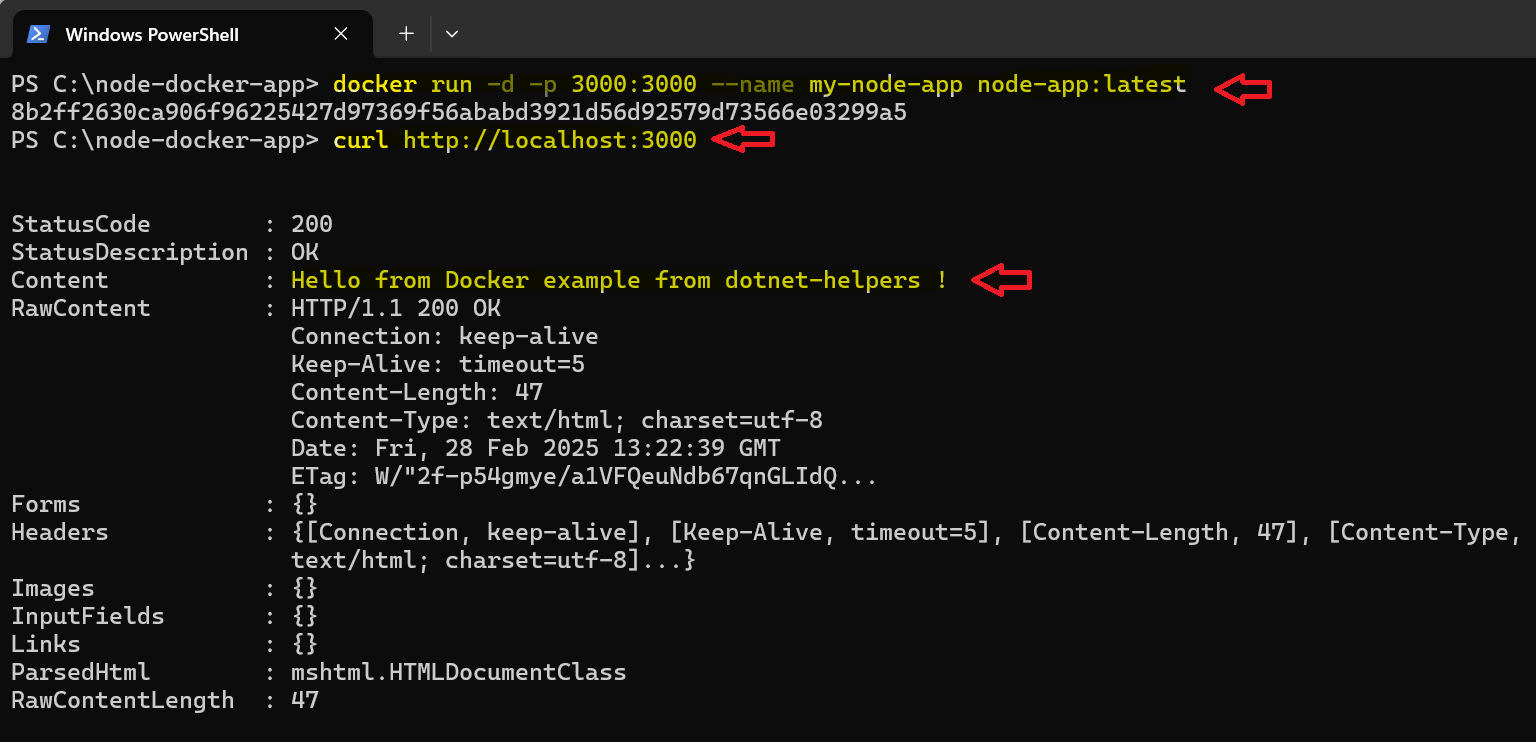
Start a container from your image:
#syntax
docker run -d -p 3000:3000 --name <container-name> <image-name>
docker run -d -p 3000:3000 --name my-node-app node-app:latest
-druns the container in detached mode.-p 3000:3000maps the host’s port 3000 to the container’s port 3000.--nameassigns a name to the container.
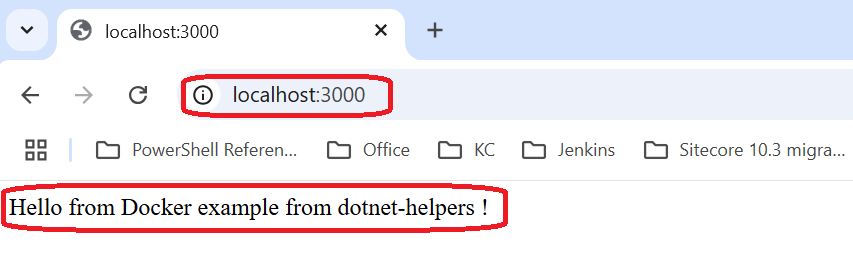
Verify it’s working by using CURL or in browser as shown below.
curl http://localhost:3000
# Output: Hello from Docker!
Output : Run in the console using curl
Run in the Browser
Step 4: Manage the Container
Stop the container: Gracefully stops the running container named my-node-app. If you want to shut down a running container without deleting it — useful for pausing an app or troubleshooting.
docker stop my-node-app
Remove the container: Deletes the container (but not the image). After stopping the container, if you don’t need it anymore — like cleaning up old containers.
docker rm my-node-app
Delete the image: Deletes the Docker image named node-app with the latest tag. If you want to clear up disk space or remove outdated images. Note, You cannot remove an image if there are running or stopped containers using it. Stop and remove the containers first:
docker rmi node-app:latest
If you build a new Docker image and want to update a running container to use this new image, Docker doesn’t allow you to “swap” the image directly — instead, you have to stop the running container and create a new one. Let’s go through the step-by-step process!
Optimization Tips
- Use
.dockerignore
Prevent unnecessary files (e.g.,node_modules, local logs) from being copied into the image. - Leverage Multi-Stage Builds
Reduce image size by discarding build dependencies in the final image. - Choose Smaller Base Images
Use-alpineor-slimvariants to minimize bloat.
Conclusion
Creating Docker images from a Docker file standardizes development and deployment workflows, ensuring consistency across teams and environments. By following the steps above, you’ve packaged a Node.js app into a portable image and ran it as a container. This method applies to any language or framework—Python, Java, or even legacy apps.
Docker’s power lies in its simplicity. Once you master Docker files, explore advanced features like Docker Compose for multi-container apps or Kubernetes for orchestration. Start small, automate the basics, and scale confidently.